Deployment
Once you have all the requirements installed and the project code staged locally, it's finally time to deploy your detection range.
Station Control Intro
Thremulation Station comes with a terminal control interface called stationctl. It is used to perform most major tasks within the environment. An overview of some of the tasks provided are:
- configure and deploy a range
- check the status of a current range
- management tasks on a current range
- reloading / rebuilding boxes
- data reset (clearing indexes)
- various troubleshooting steps
Warning
stationctl is a script located in the vagrant directory, and must be executed from <project>/vagrant!
Launching the CLI
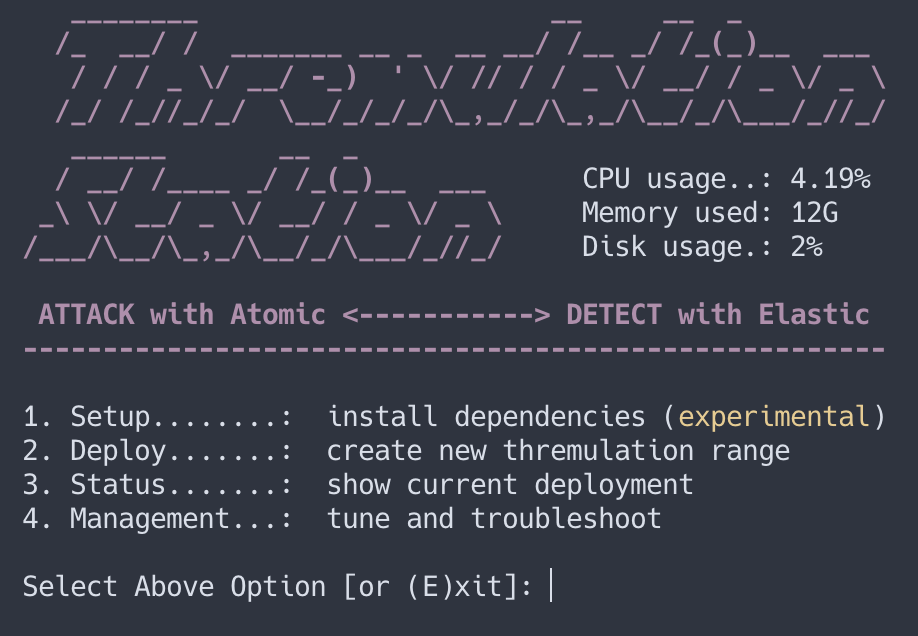
Let's start up stationctl for the first time to prepare to deploy.
- Ensure that you're in the project's vagrant directory, example:
~/code/thremulation-station/vagrant - Execute the Station Control script: $
./stationctl - To enter the "Deployment" menu select option #
2
Note: To exit the CLI you can enter
Eto exit, or less gracefully,ctrl + cat any time
Deployment
A "deployment" consists of selecting the nodes (VMs) you want, downloading them, and turning them all on in sequence. There are 3 distinct types of deployments to choose from in the CLI:
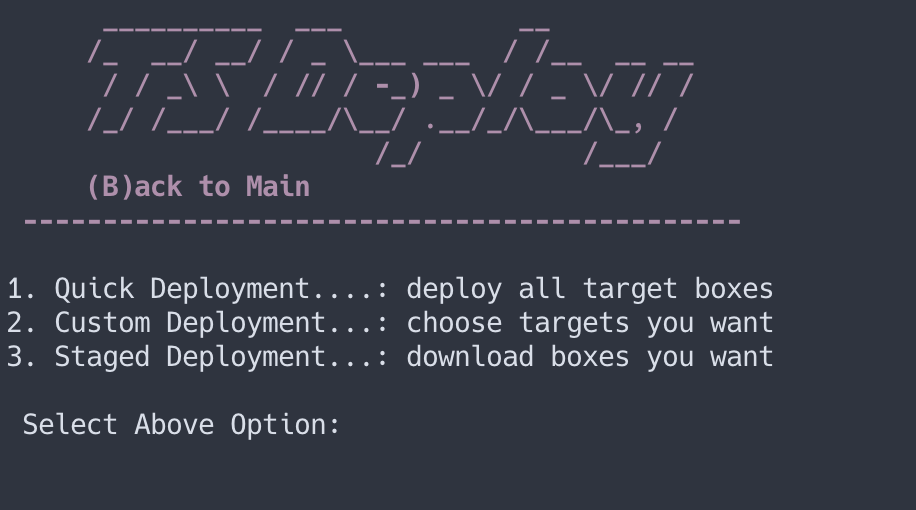
- Quick - give me all the things
- Custom - choose the just the boxes you want
- Staged - more a download than a deployment for later
Quick Deployment
A Quick Deployment is the first and fastest option. It enables all VMs included in the range, meaning the control machine, a Windows10 workstation, and a Linux server.
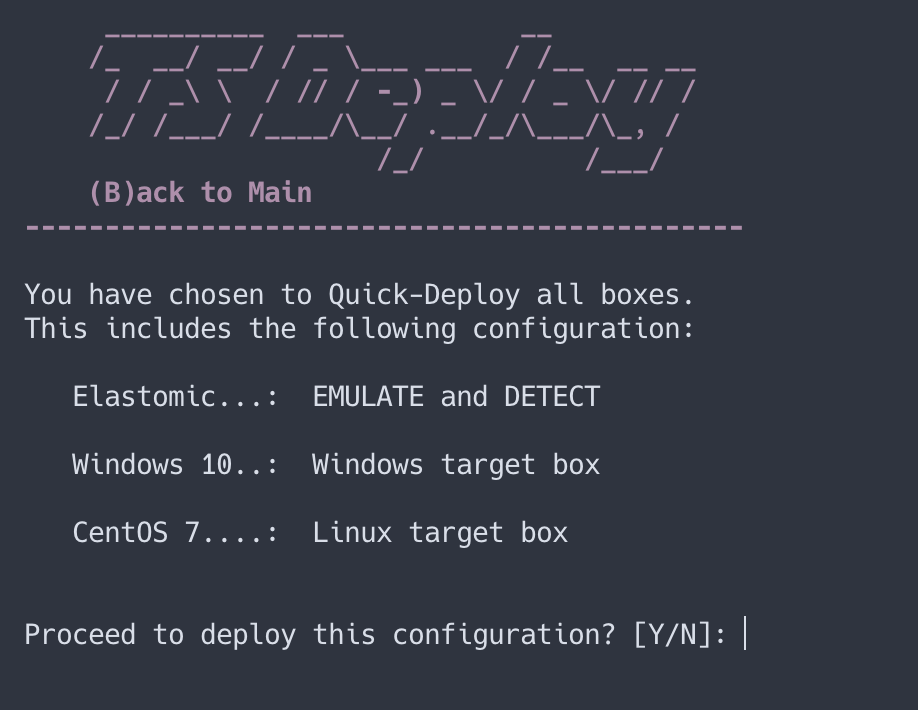
- Select option #
1and thenYto confirm that you want to depoy this configuration and kick things off. - So what's happening here? This deployment will download, turn on, and configure (provision) all 3 boxes in the order displayed.
- Get yourself some fresh coffee, this will take 15-30 minutes, depending on your particular bandwidth available.
- Please note, if you're on a Windows10 host system, you will need to allow "Allow Connections" in the windows firewall for private connections.

Attention!
This is a bandwidth-intensive task that will take a while. But take heart, this is the one tax you'll have to pay, and it happens up front (and only the first time you deploy). Get some coffee, and drink you cup slowly, savoring these infrequently quiet moments.
Also Note: If you don't drink coffee, I don't trust you and I'm not sure I want you having any part of this.
Custom Deployment
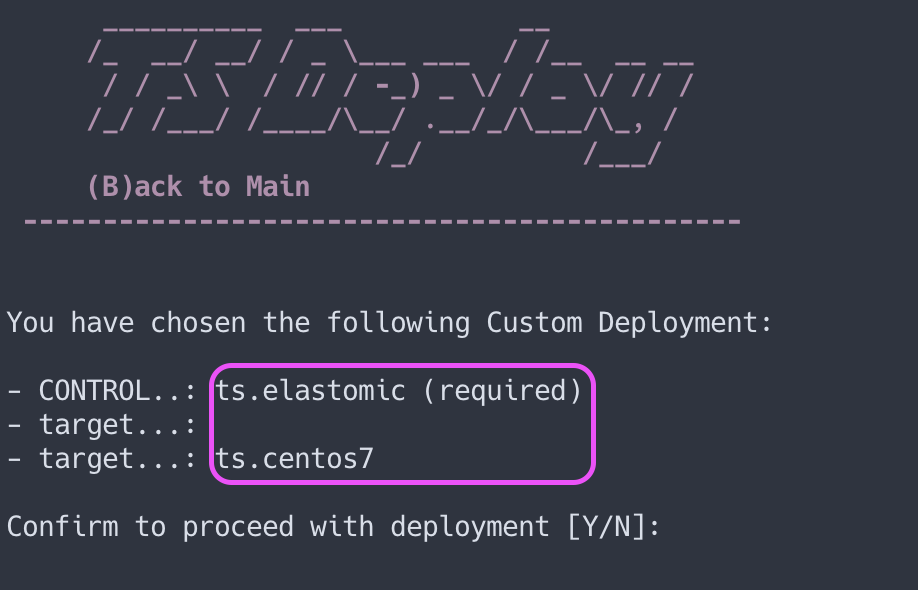
A custom deployment works generally the same way as quick one, but provides you the option to choose what target VMs to deploy alongside the control (ts.elastomic) box.
Example:
A great usecase for this would be if you're very limited on hardware resources, and you only intend on emulating and detecting threats against a linux server. You have the flexibility to say (N)o to Windows and (Y)es to Linux, which would look like so:
Staged Deployment
The staged deployment selection process works similarly to the others, but only pulls (donwloads) the boxes you select for later playtime.
The next page will cover establishing initial access to the conrol box.